Twitter OAuth on GoogleAppEngine
Google App EngineでTwitter OAuthを使う。
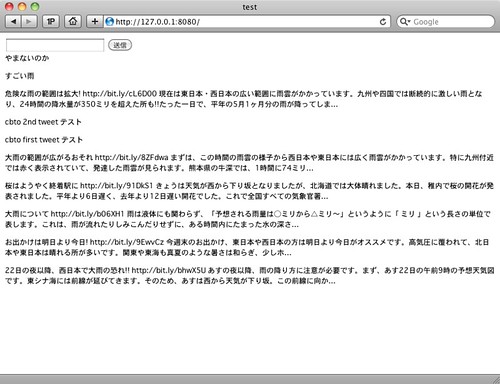
自分のタイムラインを取得してtweetできるまでのサンプル。
参考
tweepyでtwitterの3-legged OAuth認証を試してみた(GoogleAppEngine)
コードのなかで使用しているsimple_cookieは
Google Cookbook – Google App Engine A simple Cookie class のもの。
注意する点は
Twitter application settingでcallback URLを正しく設定すること。

callback URLに127.0.0.1を指定しているからかもしれないけど、なにも入力しないと
TweepError: HTTP Error 401: Unauthorized になる。
tweepy
はapp engineのディレクトリにモジュールのディレクトリをコピーして使った。
以下サンプルコードと実行
~/oauth_twitter/oauth_twitter.py
#coding:utf-8
import logging
import uuid
import tweepy
from google.appengine.ext import webapp
from google.appengine.ext.webapp.util import run_wsgi_app
#from django.utils import simplejson
from google.appengine.ext import db
from google.appengine.api import memcache
from simple_cookie import Cookies

CONSUMER_KEY = 'xxxxxxxxxxxxxxxxxxxxxxx'
CONSUMER_SECRET = 'xxxxxxxxxxxxxxxxxxxxxxxxxx'
CALLBACK_URL = 'http://127.0.0.1:8080/oauth/callback'
SESSION_EXPIRE = 300
log = logging.getLogger(__file__)


class RequestToken(db.Model):
    token = db.StringProperty()
    secret = db.StringProperty()


class Home(webapp.RequestHandler):
    def get(self):
        cookie = Cookies(self, max_age=SESSION_EXPIRE)
        if not 'sid' in cookie:
            cookie['sid'] = str(uuid.uuid4())  # start a session
        (timeline, username) = (None, None)
        access_token = memcache.get(cookie['sid'])
        log.info('access_token....%s' % access_token)
        if access_token:
            self.response.headers['Content-Type'] = 'text/html'
            auth = tweepy.OAuthHandler(CONSUMER_KEY, CONSUMER_SECRET)
            auth.set_access_token(access_token.key, access_token.secret)
            username = auth.get_username()
            log.info('username....%s' % username)
            api = tweepy.API(auth_handler=auth)
            timeline = api.home_timeline(count=10)
            html = '''
            <?xml version="1.0" encoding="UTF-8"?>
            <!DOCTYPE html PUBLIC "-//W3C//DTD XHTML 1.1//EN"
               "http://www.w3.org/TR/xhtml11/DTD/xhtml11.dtd">
            <html>
            <head>
            <meta http-equiv="Content-Type" content="text/html; charset=UTF-8">
            <title>test</title>
            </head>
            <body>
            <form action="/" method="POST">
              <input type="text" name="status"/>
               <input type="submit"/>
            </form>'''
            self.response.out.write(html)
            self.response.out.write('<p>'.join([t.text for t in timeline]))
            self.response.out.write('</body></html>')
        else:
            self.redirect('/oauth')

    def post(self):
        cookie = Cookies(self)
        if 'sid' in cookie:
            access_token = memcache.get(cookie['sid'])
            if access_token:
                auth = tweepy.OAuthHandler(CONSUMER_KEY, CONSUMER_SECRET)
                auth.set_access_token(access_token.key, access_token.secret)
                api = tweepy.API(auth_handler=auth)
                api.update_status(status=self.request.get('status'))
        self.redirect('/')


# get an twiiter authorize url and redirect to it.
class OAuth(webapp.RequestHandler):
    def get(self):
        auth = tweepy.OAuthHandler(CONSUMER_KEY,
                                   CONSUMER_SECRET,
                                   CALLBACK_URL)
        auth_url = auth.get_authorization_url()
        request_token = RequestToken(
            token=auth.request_token.key,
            secret=auth.request_token.secret)
        request_token.put()
        self.redirect(auth_url)


class OAuthCallBack(webapp.RequestHandler):
    def get(self):
        request_token_key = self.request.get("oauth_token")
        request_verifier = self.request.get('oauth_verifier')
        auth = tweepy.OAuthHandler(CONSUMER_KEY, CONSUMER_SECRET)
        request_token = RequestToken.gql("WHERE token=:1",
                                         request_token_key).get()
        auth.set_request_token(request_token.token,
                               request_token.secret)
        access_token = auth.get_access_token(request_verifier)
        log.info(access_token.key)
        log.info(access_token.secret)
        cookie = Cookies(self)
        memcache.set(cookie['sid'], access_token, SESSION_EXPIRE)
        self.redirect('/')


class Logout(webapp.RequestHandler):
    def get(self):
        cookie = Cookies(self)
        if 'sid' in cookie:
            memcache.delete(cookie['sid'])
            del cookie['sid']
        self.redirect('/')


routing = [('/', Home),
           ('/oauth', OAuth),
           ('/oauth/callback', OAuthCallBack),
           ('/logout', Logout),
           ]

application = webapp.WSGIApplication(
        routing,
        debug=True)


def main():
    run_wsgi_app(application)

if __name__ == '__main__':
    main()
~/oauth_twitter/app.yaml
application: oauthtwitter # _ はapplicationの識別子として使えないので注意
version: 1
runtime: python
api_version: 1

handlers:
- url: /.*
  script: oauth_twitter.py
$ cd ~/
$ dev_appserver.py oauth_twitter
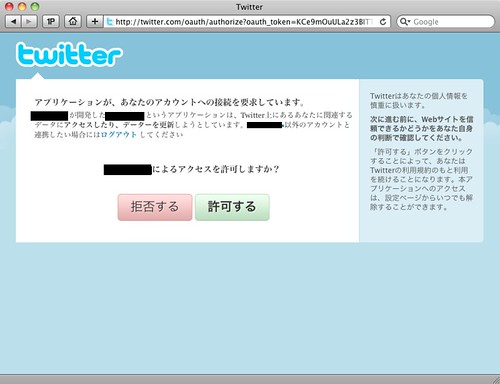
http://127.0.0.1:8080にアクセスするとtwitterのoauthのページ
許可するとhttp://127.0.0.1:8080/oauth/callbackにリダイレクト
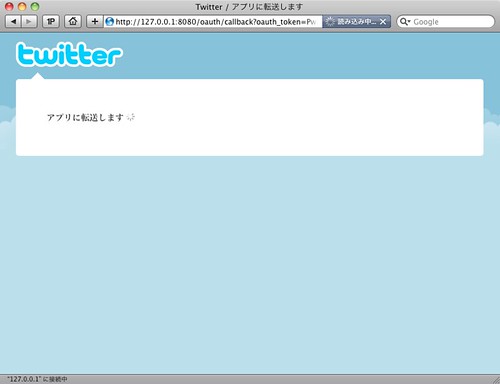
access_tokenを設定して、http://127.0.0.1:8080/にリダイレクト

Leave a Reply